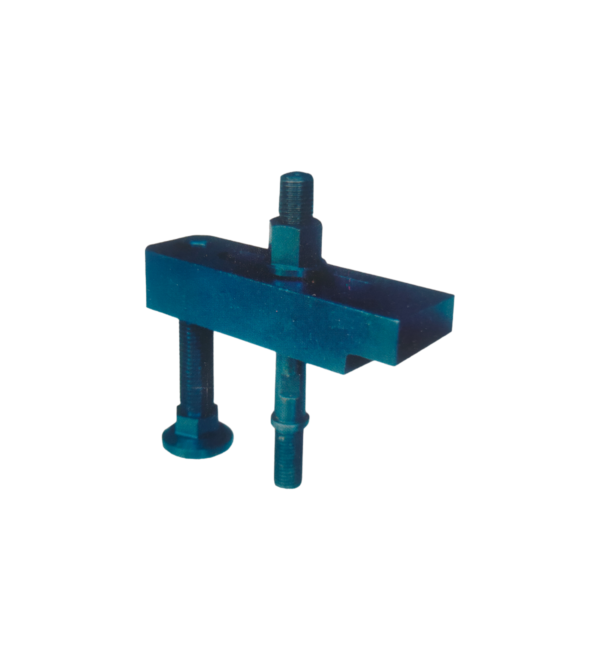
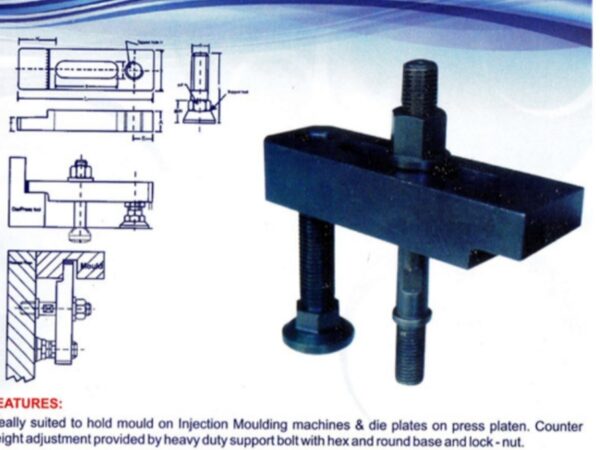
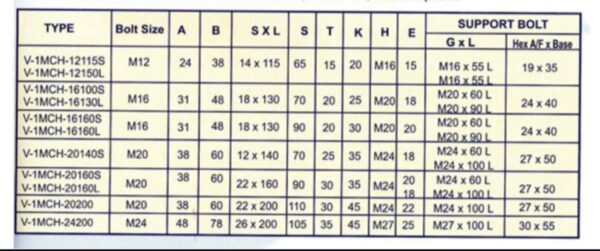
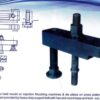
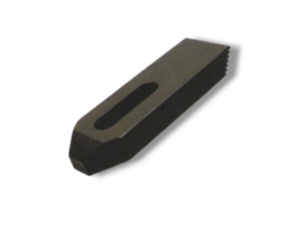
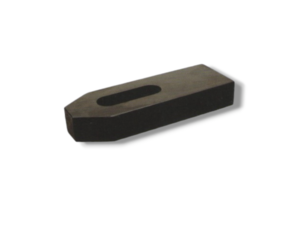
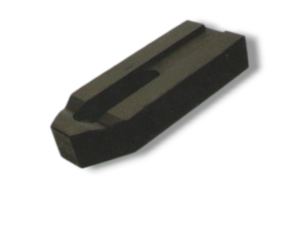
🔧 Features of Mould Clamps
1. High-Tensile Steel Construction: Built from hardened, high-strength steel to endure heavy clamping forces and repeated use under high pressure and temperature conditions.
2. Slotted Design for Adjustability: The long slot allows for flexible positioning and easy adjustment to fit moulds of different sizes and shapes.
3. Compact & Low-Profile Shape: Designed to occupy minimal space on the machine bed, allowing for multiple clamps and easy tool access.
4. Swivel/Spherical Washer Compatibility: Often used with spherical or swivel washers to allow slight angular adjustments, ensuring uniform pressure on uneven mould surfaces.
5. Corrosion and Wear Resistance: Some clamps have coatings or surface treatments (like black oxide) for protection against rust and wear in industrial environments.
6. Flat Nose and Support Heel: The flat front-end presses against the mould, while the rear heel rests on the machine platen, ensuring even force distribution.
🛠️ Uses of Mould Clamps
1. Injection Moulding Machines: Primarily used to fix plastic moulds securely on the machine platen during high-pressure plastic injection cycles.
2. Die Casting Machines: Used to hold metal dies firmly in place during molten metal casting processes.
3. Thermoforming & Blow Moulding Applications: Keeps moulds properly aligned during heating and forming operations.
4. Tool & Die Industry: Supports repeatable and stable mould setups in jigs, fixtures, and presses.
5. Production Line Efficiency: Essential for quick mould changes in mass production environments, reducing downtime and setup time.
⚙️ Installation of Mould Clamps
1. Align the Mould on the Machine: Place the mould onto the platen of the injection or die casting machine and align it properly using guide pins or markings.
2. Position the Clamp: Slide the clamp over the mould’s edge, with the nose of the clamp pressing firmly on the mould plate.
3. Insert a Bolt/Stud: Use a T-slot bolt, stud, or threaded fastener through the clamp’s slot into the machine’s threaded hole or T-slot.
4. Use Washers for Even Pressure: Place a swivel or spherical washer under the nut to allow for self-alignment during tightening.
5. Tighten Securely: Use a wrench or spanner to tighten the nut, ensuring the clamp is firmly holding the mould without damaging it.
6. Check for Stability: Confirm the mould does not shift or vibrate when the machine operates.
✅ Advantages of Mould Clamps
1. Fast Setup and Removal: Quick-release design and slotted adjustability reduce mould changeover time, improving operational efficiency.
2. Strong and Reliable Clamping: Can withstand high forces and pressures during the injection or casting process, ensuring the mould remains stable.
3. Adjustable for Various Mould Sizes: One clamp can be used for multiple mould sizes, making it economical and flexible.
4. Improves Safety and Product Quality: Prevents mould movement or misalignment, reducing the risk of defects, flashing, or tool damage.
5. Long Service Life: Reusable and built to last through thousands of clamping cycles in high-volume production settings.
6. Compact Design: Allows more room on the machine platen for other operations or clamps.

